THE BEST WAY TO CREATE A WHITE BACKGROUND FOR MULTIPLE PHOTOS IN LIGHTROOM
One of my clients needed me to create a perfectly white background for her product photos so the images fit seamlessly within the website.
Problem: She had over 300 products needing to be edited!
Solution: Lightroom (THANK YOU!!)
For all of you who like the video walk through:
If not keep scrolling :)
*I apologize for the non-radio voice ahead of time!!
OPEN LIGHTROOM
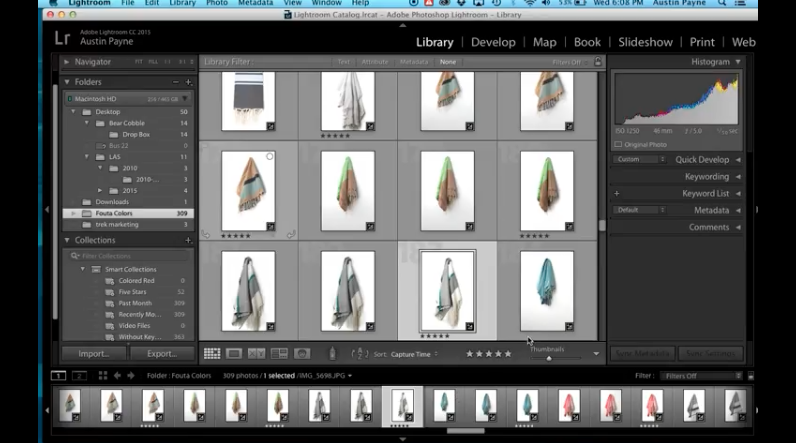
Upload your images into their own folder to keep things organized. The reason Lightroom works best is because Photoshop requires editing one at a time. With Lightroom you are able to work on one image and use those changes towards others.
SELECT THE IMAGE YOU WANT TO WORK WITH
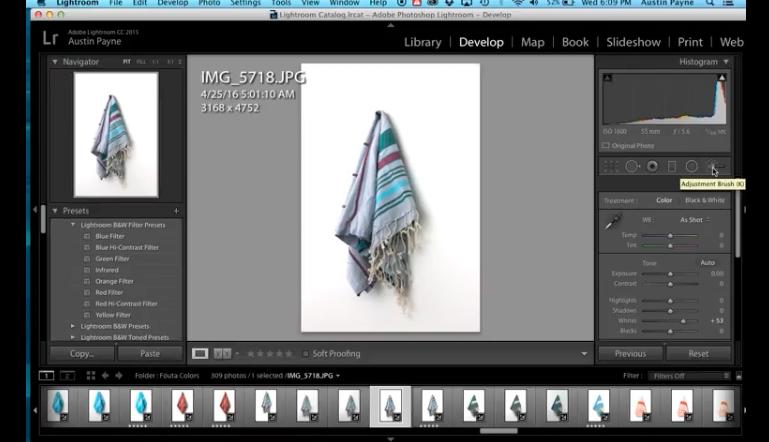
Choose a photo whose edits will transfer well to the others within your folder. Select the image and click Develop.
EDIT THE OVERALL IMAGE
I always suggest editing the overall image within the basic settings to ensure the lighting, saturation, highlights, etc look good.
BRUSH IT OUT
Click over to the brush tool (top right). Move the exposure to max, also known as 4.00. Adjust your brush size while also maxing out the feather, flow, and density.
Now that all is right within the settings, begin to frame your object with the white brush. Make sure not to touch the product because you do not want to over expose it.
I will always send the exposure to the opposite side (black) to make sure I covered all my edges.
Depending on your pre-set white background, you may find that there is a white framed look to the image. If so, simply click NEW and adjust your exposure to .04 and finish up the look by painting from the inner frame to the product (without painting the product).
APPLY TO MASSES
Now that the product is as you like it you can click DONE and head back to the library.
Select the image you just edited, hold down the shift button, and click the other images you want to change.
This will apply every change you just made to the newly selected images.
Click SYNC SETTINGS (I normally keep it as is) and click Synchronize. This will then transfer the edits from your original photo to the newly selected.
ENJOY!
Happy trekking,
A.


